Introduction to Qualtrics
The Look and feel section of Qualtrics allows you to customise the look of your survey – changing the theme and adjusting the layout, colours, font and background as desired. To access this section of Qualtrics, click on the ‘Look and feel’ icon on the navigation menu at the far left of the screen:

This page details some of the functionality available in this section of Qualtrics.
In brief, it covers how to do the following:
- Edit the survey theme
- Edit the survey background
- Edit other look and feel options, including options relating to the survey layout, general features, style, motion and logo
Survey theme
To ensure a consistent look and feel is applied to each page of a survey, Qualtrics uses survey themes. There is a library of themes to choose from, and you can customise various aspects of these themes as detailed in the sections below.
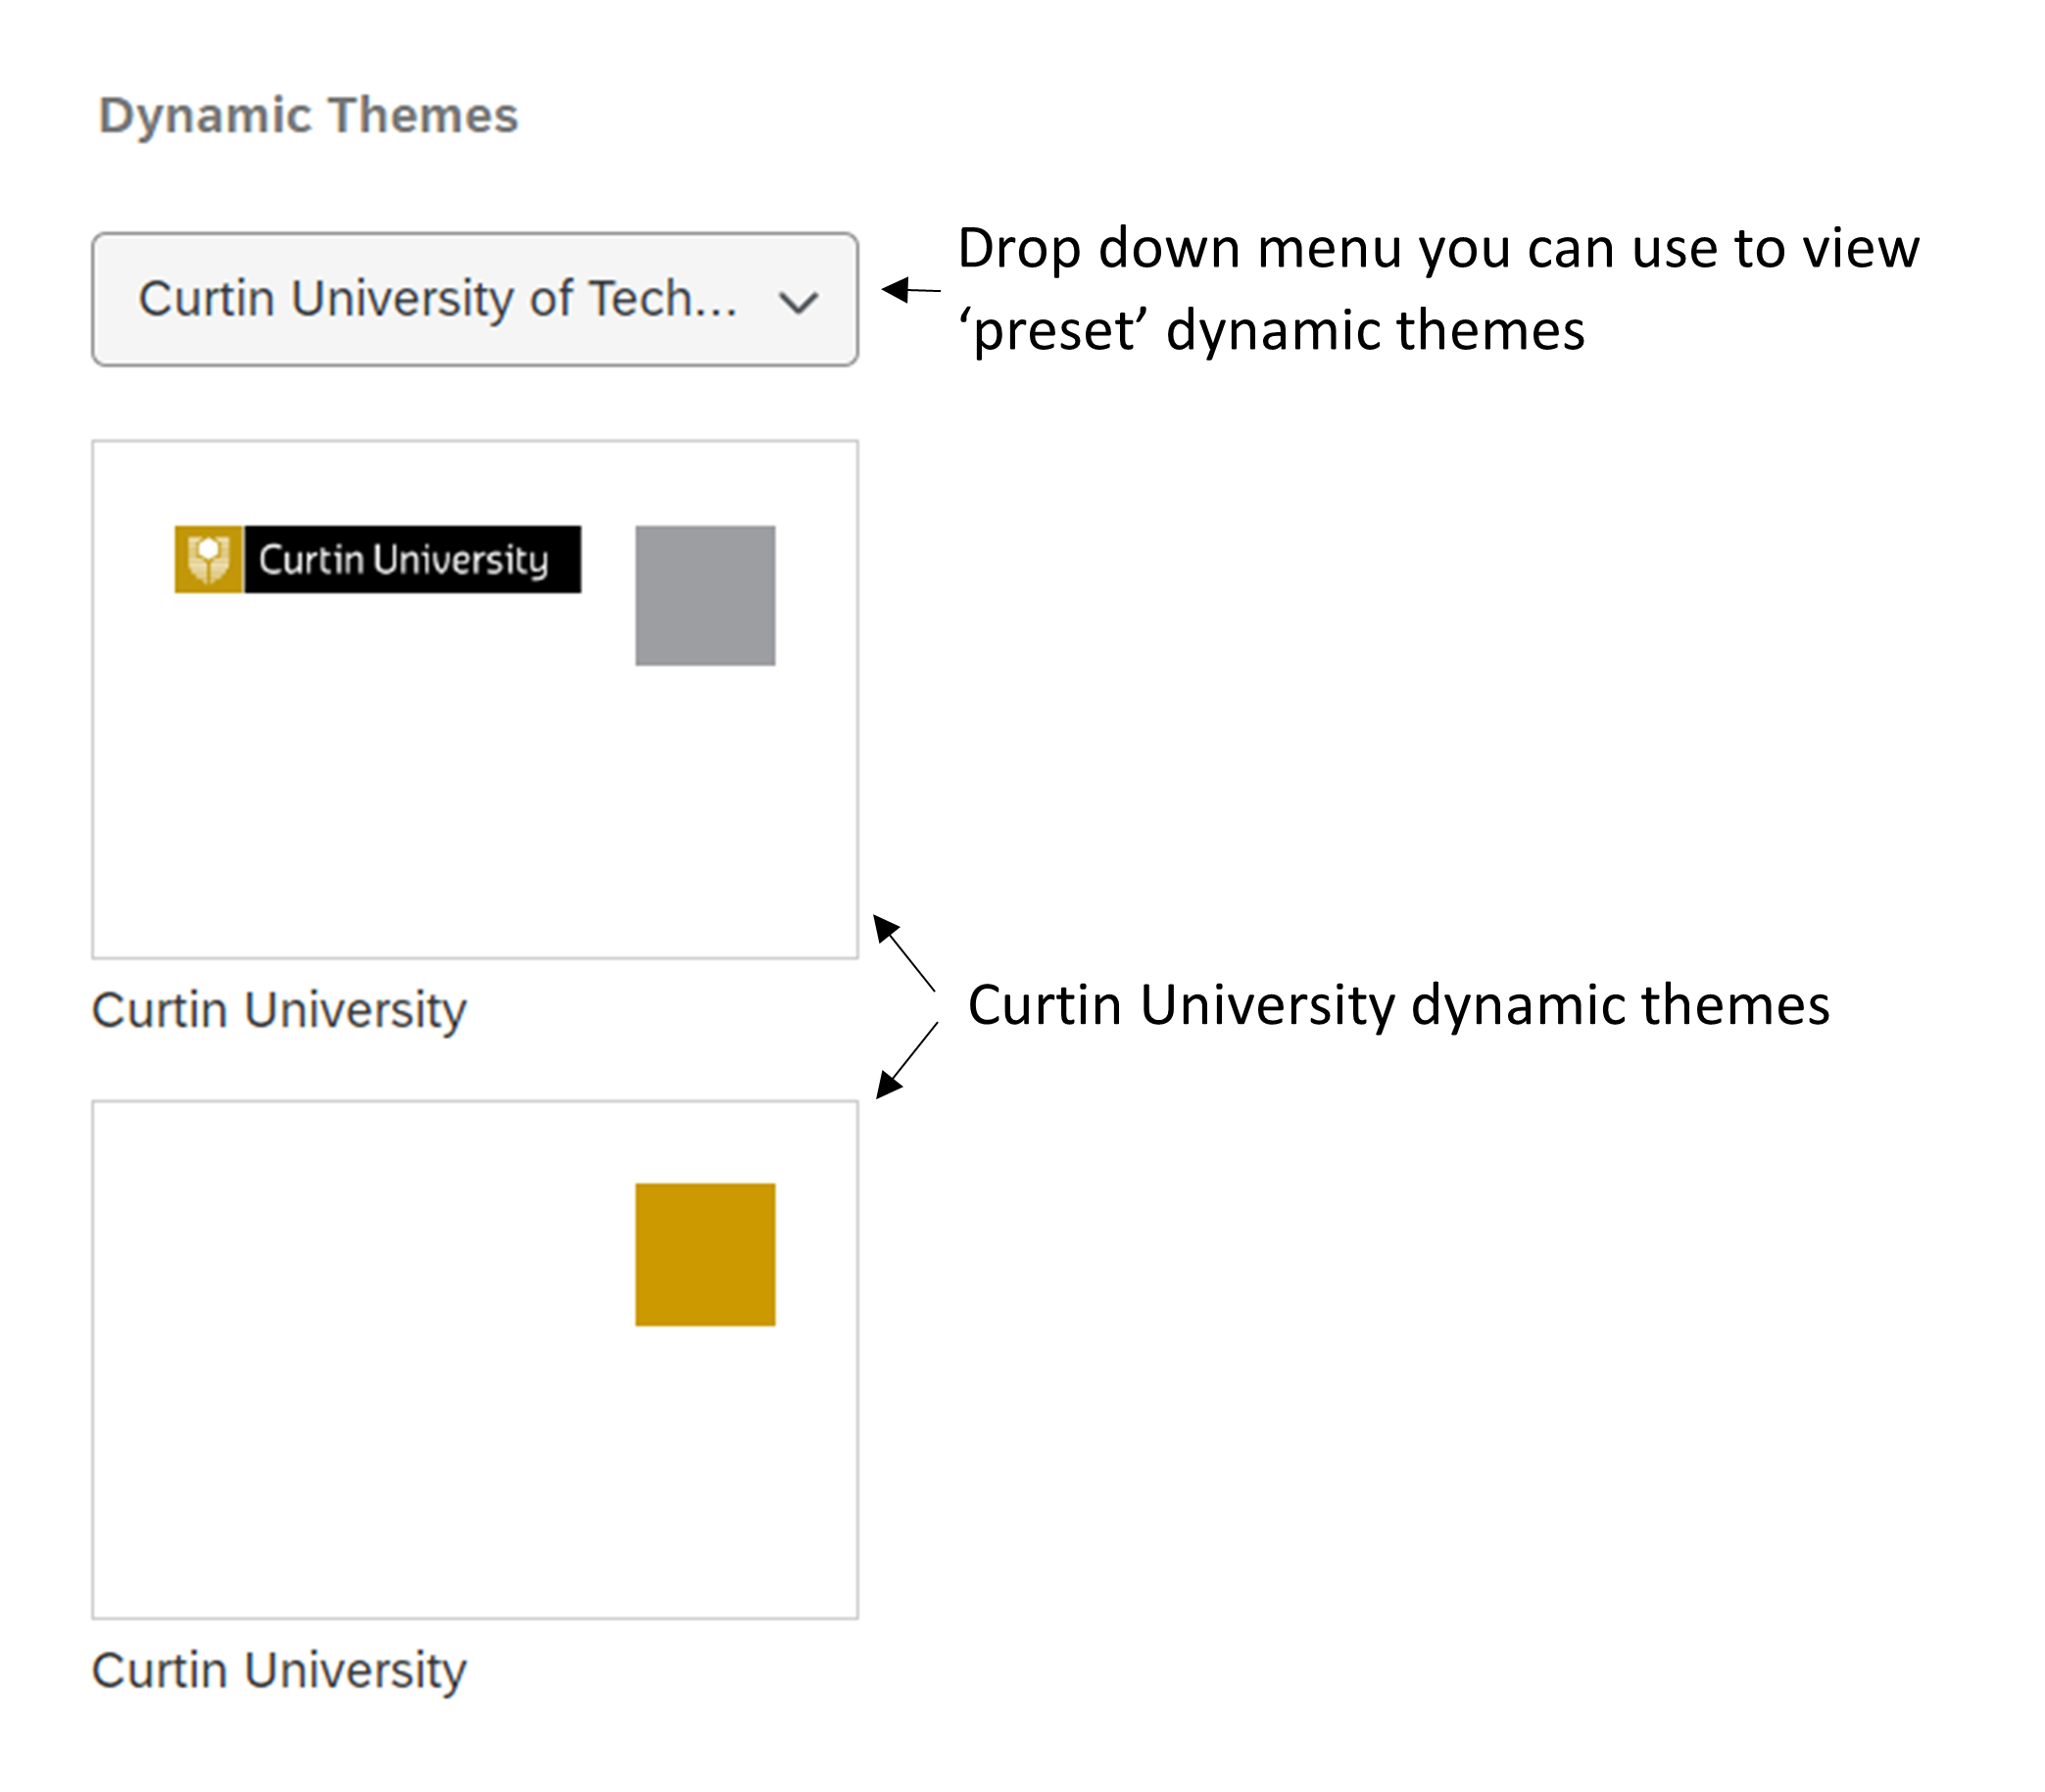
There are two different types of themes: static themes and dynamic themes. Static themes don’t allow the layout, logo or background of the theme to be customised, whereas dynamic themes allow all aspects of the theme to be customised.
If you are using the Curtin Qualtrics licence and would like your survey to have a Curtin University theme, there are two static and two dynamic themes to choose from. These dynamic themes are displayed below. Alternatively, you can choose Presets from the Dynamic Themes drop-down menu and choose from one of the other theme options, or you can start from scratch with a Blank theme. You can click on any of the themes to see a preview.
Example
For the purposes of experimenting with different looks for your Test Survey, choose the Blank dynamic theme (underneath the Curtin University dynamic themes if you are using a Curtin Qualtrics licence) and select Apply.
Survey background
If you are using a dynamic theme, you can opt for your survey to have a different background colour or image by selecting Background from the left menu.
To change the background colour, click in the Background Color box and either manually choose a colour by dragging the circle to select, or enter HEX or RGB values.
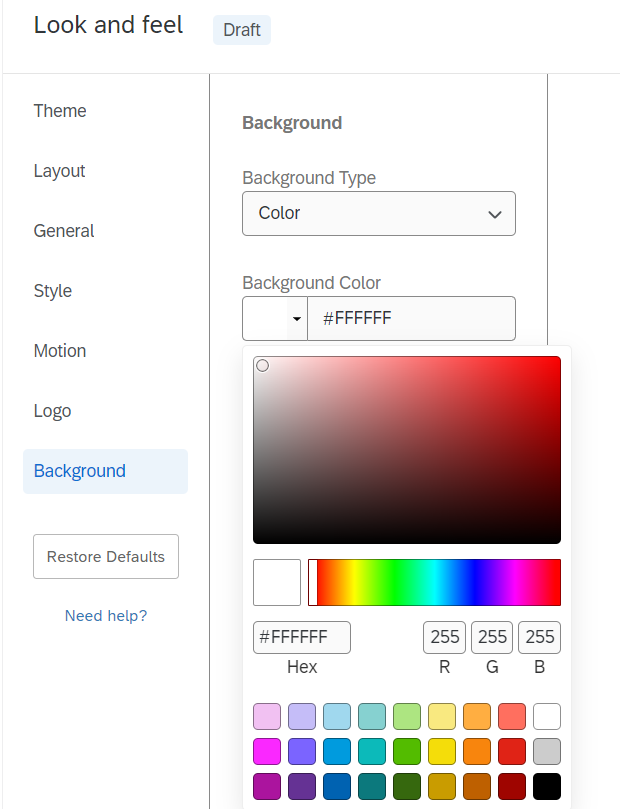
To add a background image, choose Photo from the Background Type drop down menu, then select Change Image and either click on Upload a New Graphic (which allows you to upload a graphic or to use a graphic from the web) or choose a previously uploaded image. You can then adjust the overlay colour and opacity as desired.
Example
Experiment with changing the colour or adding a background image for your Test Survey, then select Apply when you are happy with the background.
Other survey look and feel options
If you are using a dynamic theme, you can select from a choice of three different survey layouts by selecting Layout from the left menu.
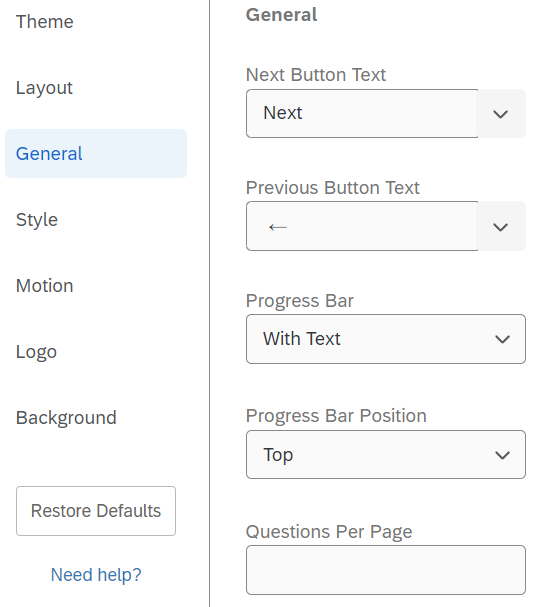
Furthermore, you can make changes to the next and previous button text, add a progress bar and/or add a header or footer to the survey by selecting General from the left menu.
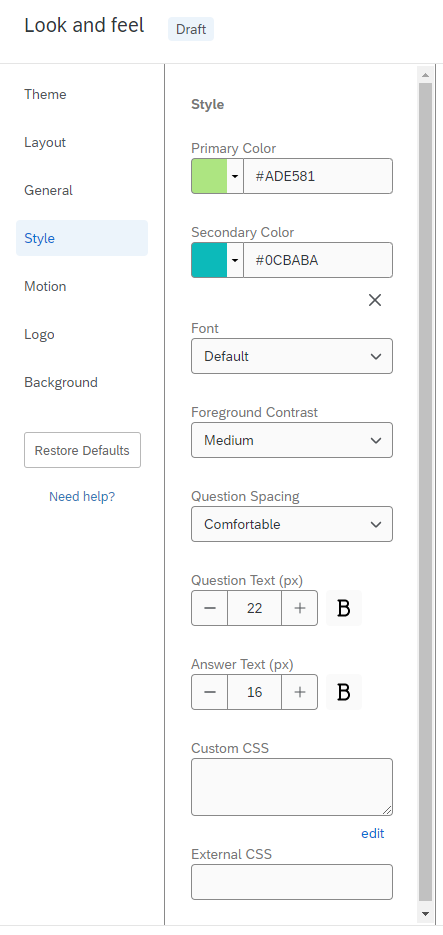
You can also make changes to primary and secondary survey colours (e.g. colours of things such as the ‘Next’ boxes), adjust the font style and size, change the question spacing, and add in Custom CSS (to further customise the look and feel of the survey) by selecting Style from the left menu.
Finally, you can also make changes to the page transition by selecting Motion from the left menu, and add in a logo by selecting Logo.
Example
Select General from the left menu and update the Next Button Text to say Next throughout your Test Survey, then add a Progress Bar With Text.
Experiment with changing the colours, the font style and size and the question spacing using the options in the Style menu as well, if you like.
Make sure you click Apply after making any changes.