Microsoft Excel Essentials
After formatting your spreadsheet you might like to make use of some of Excel’s data entry tools to speed up the entry of any additional data, and to organise existing data.
In brief, this page covers the following:
- How to use Autofill to continue patterns or copy values
- How to use Flash Fill to automatically complete data based on examples
- How to use Text to Columns to split text into separate columns
Note that the information on this page references the resource Party_Budget_Workbook_2 [XLSX, 11kB]. Download this workbook, if you haven’t already, and use it to work through the information below. This workbook has been formatted according to the instructions on the Getting started page of this module.
Autofill
When using Excel, you may be working with data in a series. You can use AutoFill to save time entering each item in the series into your spreadsheet. Test this by first adding a new sheet in the Party_Budget Excel workbook, by pressing this symbol at the bottom of the screen:

Double-click on the new sheet name to change it. For this example, we’re going to name it Party_Guests.
On the new sheet, enter the numbers 1 and 2 in cells A1 and A2, respectively. Highlight both cells, and hover your mouse over the bottom-right corner of the “2” cell. When the black + symbol shows, click and drag downwards to row 20. The cells will automatically be filled with the numbers 3–20. This works for common sequences (such as days of the week), as well as patterns that Excel detects in your series.
Flash fill
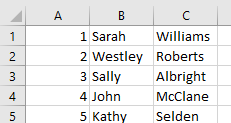
Flash Fill is handy when you want to combine existing data to work with it more efficiently. To try this, type the first and last names of at least five guests you would like to invite to your party in columns B and C of the Party Guest sheet. Example:
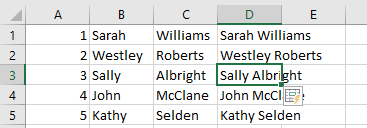
Now, in column D, type the first AND last name of the first person you are inviting (e.g. Sarah Williams) in the same row (e.g. row 1). Press Enter, and start doing the same for the second person in your list. As you begin typing the second name you should see the rest of the names automatically filled in for you in the remaining cells; press the Enter again and Excel will fill in the cells for you. It should look something like this:
If it does not automatically fill in the cells for you, click on the next cell you wish to fill, go to the Data tab and select Flash Fill in the Data Tools section to use Flash Fill instead.
Text to columns
Sometimes you may want to do essentially the opposite of the above, and split a single column into multiple columns. For example, you might already have a column containing both first and last names that you want to split into a column of first names and a column of last names, or you may have dates that you want to split into three separate columns for day, month and year. We will do the latter now, but first we will make a copy of the Party_Budget sheet to do it in. To do this:
- Right click on the Party_Budget tab at the bottom of the screen and select Move or Copy….
- Click on (move to end).
- Tick Create a copy and select OK.
- Then rename the copy Party_Budget_Copy.
- Now click in this sheet and highlight cells E2 to E19 (i.e. the dates), then select the Data tab and choose Text to Columns.
The Convert Text to Columns Wizard will appear:
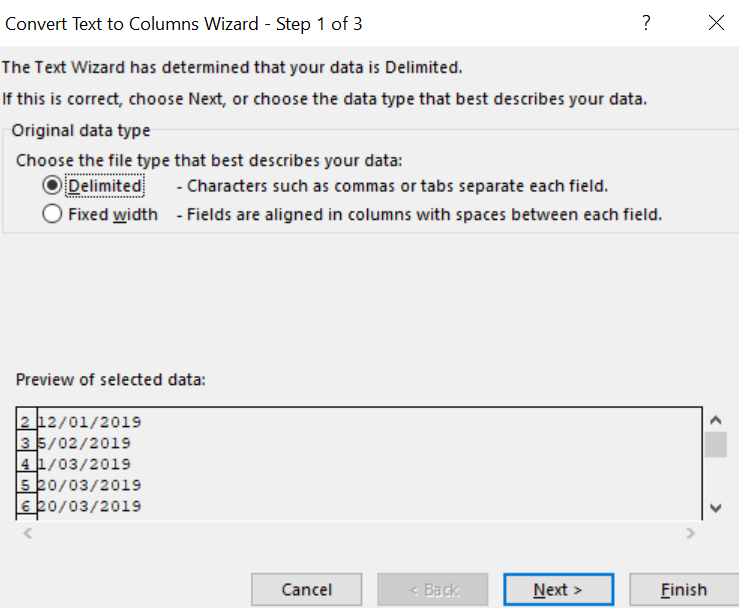
In this wizard, you will need to specify things such as the type of data, how it has been separated in the current column, and where you want to place the new data. For this example:
- Keep the data type as Delimited and click Next.
- Then from the list of Delimiters choose Other and type the / symbol; the data preview should now show that the dates have been separated into three columns.
- Now click Next and choose the Destination for the new columns.
- Click on the icon and highlight cells G2 to I19 for example, then click the icon again to select this as the destination.
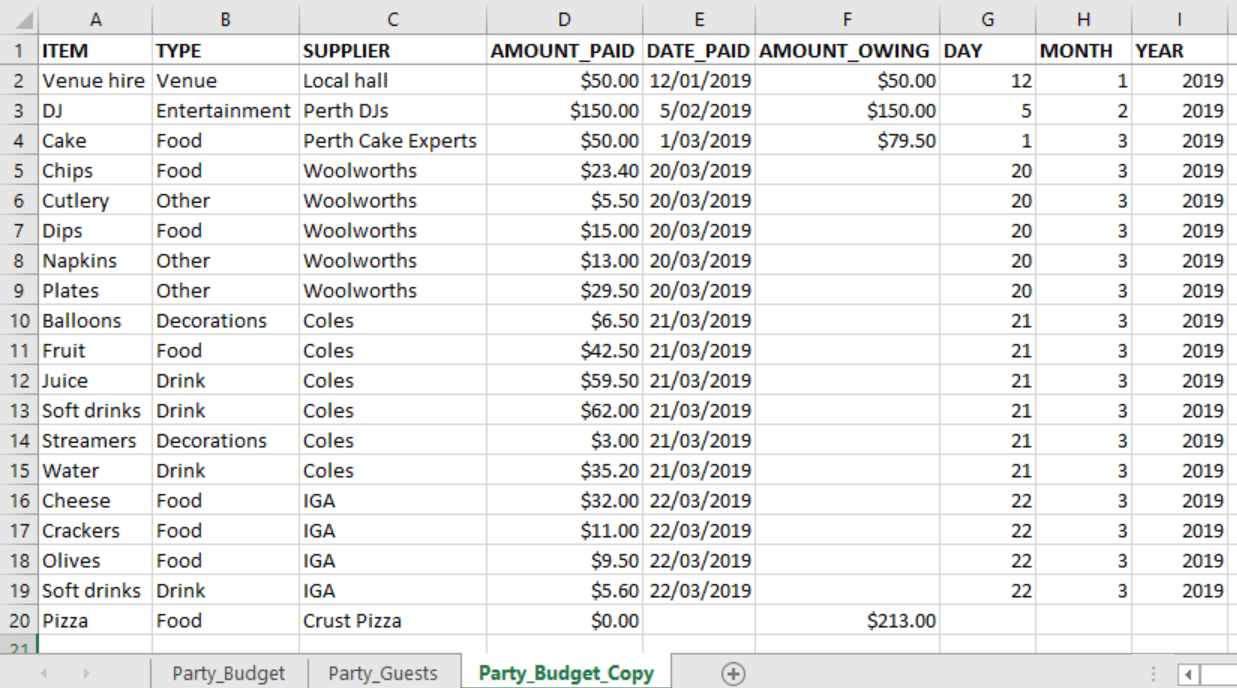
- Finally, click Finish and the dates should be separated into three columns in columns G, H, I, which you can give the headings of DAY, MONTH and YEAR respectively.
The Party_Budget_Copy spreadsheet will now look like this:
If you are going to continue on to Sorting & filtering return to the original Party_Budget spreadsheet.