Data literacy with R
The RStudio integrated development environment (IDE) is free and open-source, and helps make programming in R easier by providing a range of functionality accessed through a graphical user interface (GUI). The GUI is divided into four different panes, some or all of which will be visible when you first open the environment.
This page provides a summary of each of these four panes, followed by information about creating projects in RStudio. In order to work through it you will first need to install both R and RStudio, if you haven’t already. Once you have them installed, open RStudio to get started.
Console pane
The Console pane is visible on the left of the GUI when you first open RStudio. In this pane you can write code and observe output. For example, to write a command to calculate 1 plus 2 type the following command after the ‘>’:
1+2## [1] 3Press ‘enter’, and the console should display the result of this calculation on the next line.
As another example, create a new variable x and assign
it the value of 100 by typing the following and pressing ‘enter’:
x <- 100This time no output is displayed in the console, but the variable has been created and is visible in the Environment tab in the top right pane. For more information on this, see the Environment tab section of this page.
Note that a line at the top of the console displays the version of R
being used, together with the address of the current working directory.
This is the default location for any files you read into or save in
RStudio. You can also check the current working directory by typing the
getwd() function in the console. For more information on
the working directory, and how to set it, see the Files tab and RStudio
projects sections of this page.
Note also that you can toggle through the commands you have previously written in the console using the up arrow (and later also the down arrow as required), which can make it quicker and easier to run the same or similar commands.
Environment/History pane
The pane at the top right of the RStudio GUI consists of multiple tabs, two of which are the Environment and History tabs. These are detailed below.
Environment tab
The Environment tab lists the variables and data sets in the Global
Environment, otherwise known as the workspace. This will include the
variables and data sets created and imported in the current session and
possibly any saved in previous sessions as well, depending on your
settings (for more information on this, see the RStudio projects section of this page). For
example, you should be able to see that the variable x has
a value of 100 if you created this in the Console pane section.
You can save the objects in your workspace as an RData file by clicking the ‘Save workspace as’ icon at the top of the tab, and open any such saved files by clicking the ‘Load workspace’ icon (hover over the icons to view the name of each). You can also import data sets into the workspace using ‘Import Dataset’ and, if necessary, delete all objects from the workspace with the ‘Clear objects from the workspace’ icon.
Finally, you can display the contents of any packages loaded in the System Library by changing the selection from ‘Global Environment’ to the appropriate package (e.g. ‘package:stats’, ‘package:graphics’, etc.). For more information on the System Library and packages, see the Packages tab section of this page.
History tab
The History tab lists your previously executed code. You can save this history as an RHistory file by using the ‘Save history into a file’ icon, and can load a previous history using the ‘Load history from an existing file’ icon. Note, however, that the default setting is for the history to be saved and the previous history restored automatically when you start a new session. For more details on this, and how to change these default settings if required, see the RStudio projects section of this page.
You can also double click on any entry to paste it into the Console pane, or use ‘To Console’ (or ‘To Source’ to paste to the Source pane instead). Finally, you can delete selected entries from the history using the ‘Remove the selected history entries’ icon, or delete the whole thing (with caution) using the ‘Clear all history entries’ icon.
Files/Plots/Packages/Help pane
The pane at the bottom right of the RStudio GUI consists of multiple tabs, four of which are the Files, Plots, Packages and Help tabs. These are detailed below.
Files tab
The Files tab displays the files in the current working directory. You can use the icons in this tab to create a new folder in the working directory, or to delete or rename folders as appropriate. You can also navigate to other folders (either by clicking on the appropriate folder name in the address bar, by browsing using the ellipsis next to the address bar, or by clicking next to the ‘up’ icon), and can create, delete or rename folders in these other locations as well.
Once you have opened a new or existing folder, you can choose to set it as the working directory using the ‘More file commands’ icon and the ‘Set as Working Directory’ option. Alternatively, you can choose to go back to the current working directory by selecting ‘Go to Working Directory’.
For example, create a new folder called ‘Introductory-R’ in an
appropriate location and set it as your working directory. Notice that
when you do this, the command setwd with the location
displays in the Console pane, and the
current working directory updates at the top of the console. Note that
you can also create a new working directory and set the working
directory by creating and opening an RStudio project respectively, and
in fact this is recommended once you start using RStudio more. For more
information on this, see the RStudio
projects section of this page.
Plots tab
This tab enables you to view plots of your data. For example, you
could view a very basic plot of the single variable x by
typing the following command in the Console
pane:
plot(x)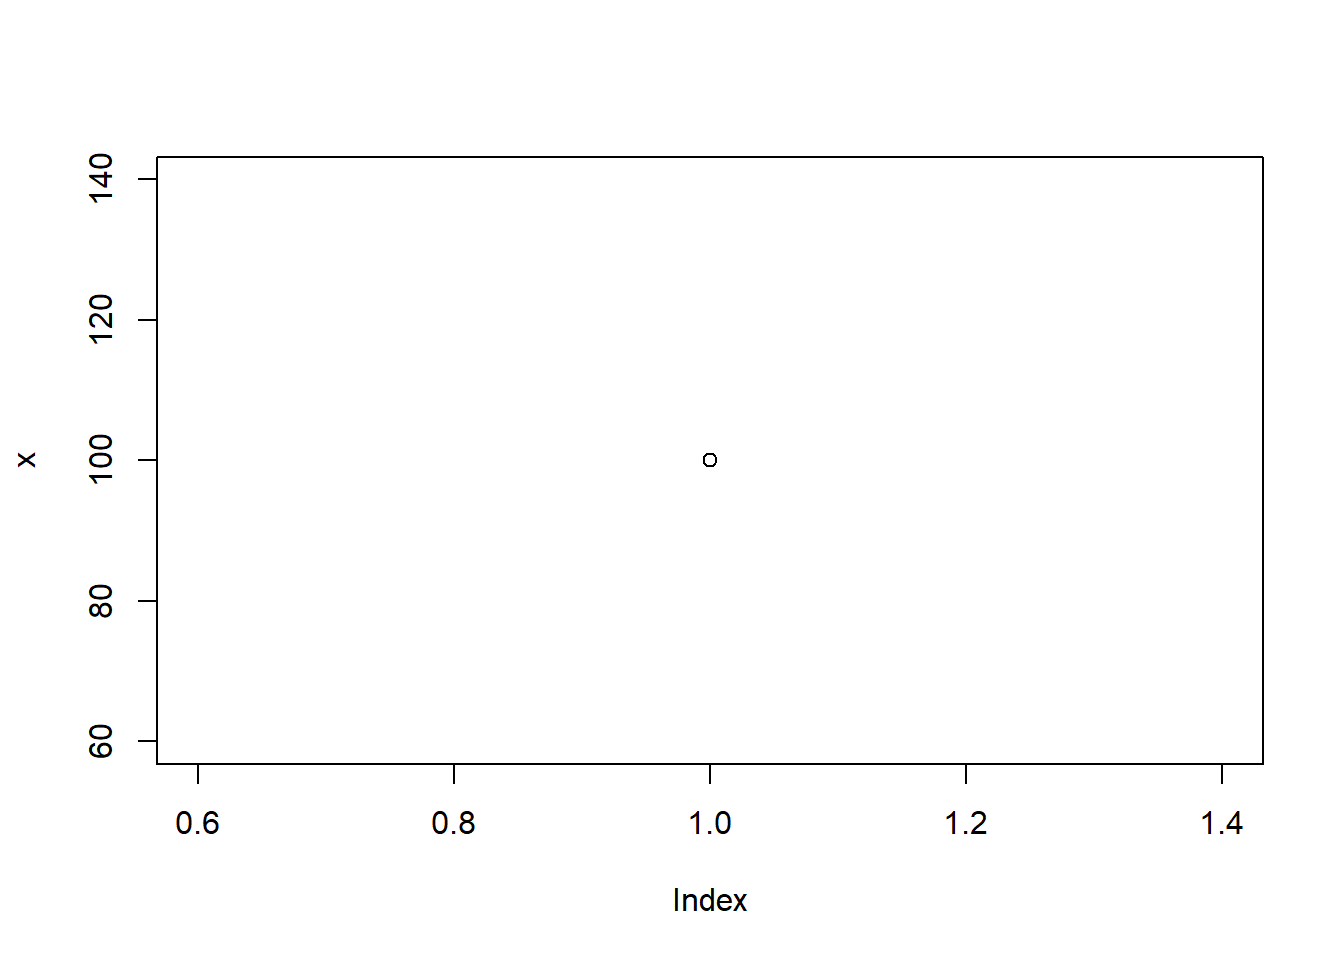
Once you have created a plot you can zoom in on it using the ‘Zoom’ icon, save the plot as an image or PDF using the ‘Export’ icon, and delete a plot or all plots using the ‘Remove the current plots’ or ‘Clear all plots’ icons respectively. If you have multiple plots you can move between them using the ‘Previous’ and ‘Next’ icons.
Packages tab
Packages are collections of data and functions that add functionality to R. There are a number of packages that are already included with RStudio, and you can view these in the System Library in the Packages tab. Some of these are automatically loaded (these are referred to as the base packages), while others are included but not loaded. To load one of these packages, just check the appropriate box.
Alternatively, to load a package that isn’t available in the System Library you will need to install it first using the ‘Install’ icon. Search for the name of the package you want to install then select the ‘Install’ button, before loading it in the same way as for existing packages. When you do this the new package will be stored in your User Library as opposed to in the System Library. While packages in the System Library are automatically updated, you need to ensure you update any User Library packages yourself.
Note that you can also install a package using the
install.packages command, and you can load an installed
package using the library command. For example, you could
install and load a package called ‘openxlsx’ by typing the following
commands in the Console pane:
install.packages("openxlsx")## --- Please select a CRAN mirror for use in this session ---
## package 'openxlsx' successfully unpacked and MD5 sums checked
##
## The downloaded binary packages are in
## C:\Users\241961d\AppData\Local\Temp\RtmpY7FMk8\downloaded_packageslibrary(openxlsx)Either way, packages only need to be installed once but any non-base packages need to be loaded each time you start a new RStudio session (you will get an error message telling you that the function you are trying to use can’t be found if it is in a package that needs to be loaded and you forget to do this!). Also, note that you generally don’t need to worry too much about any red text that appears in the Console pane when you install a package - as long as the black text at the end says it has been unpacked and saved then it is good to go.
Help tab
In this tab you can view help on functions and packages by searching for the name of the function or package you would like using the search feature. You can move between different help pages you have open using the ‘Previous’ and ‘Next’ icons, or go to the R Help page using the ‘Show R Help’ icon. Note that you can also view help on functions and packages by clicking on the package you would like help on in the Packages tab, or by typing a ‘?’ followed by the function name in the Console pane and pressing enter.
Source pane
There is one more, very important, pane that is not automatically open when you start RStudio, which is the Source pane. It can be opened by going to:
File -> New File -> R Script
This pane is used to write code in what are called scripts, in the same way as you wrote code in the Console pane. However unlike the Console pane, any commands written in the Source pane can be saved using the ‘Save’ icon (as an R file). For this reason, if you are doing anything more than just playing around it is better to type your code in the Source pane instead.
Once you have written code in the Source pane you can run it by highlighting it (or by putting the cursor on a single line of code) and selecting the ‘Run’ icon, or by pressing Ctrl+Enter (or Cmd+Enter on a Mac). The code along with any output will then be displayed in the Console pane.
Previously saved R script files can be opened in the Source pane by selecting them from the Files tab, or by going to File -> Open File… and locating the file.
RStudio projects
So far we have just been doing a bit of experimentation in RStudio, but once you start using it for more it is important to consider how you will organise your files. In particular, it is best practice to keep all related files (e.g. data, scripts, history, plots, etc.) together in one directory. An easy way to do this is by making use of an RStudio project, which you can create by going to:
File -> New Project…
You can then select to create the project in a new directory or in an existing directory, or to clone a version control repository (not covered here). For example, if you previously created an ‘Introductory-R’ folder in the Files tab section of this page you should choose ‘Existing Directory’ and select this directory. Alternatively, choose ‘New Directory’, select ‘New Project’ and then specify the name of the folder and where you would like it saved.
When you do this an Rproj project file is created in the specified directory (along with a hidden Rproj.user folder, where any temporary project files are stored), and the project opens in RStudio with the working directory set as the project directory. You should see the name of the project in the top right hand corner of RStudio (above the Environment/History pane) indicating this. You can use the drop down menu next to the project name to close the project or to open a different project as required, or you can make use of the ‘File’ menu to do the same. You can also close a project by simply closing RStudio, and can open one by double clicking on the Rproj file in the relevant save location.
Regardless of how you close a project, note that the default global settings are such that the most recently opened project is restored when you open RStudio (if one exists, and assuming you haven’t selected a specific project to open). These global settings also dictate what exactly will be loaded in the project itself. For example, the default is that your previous scripts (even unsaved ones, if they were open when you closed it) together with your history will automatically be restored. In addition, any variables and data you had saved in your workspace (i.e. those in the Global Environment in the Environment tab) will automatically be restored. While all of this can be very helpful, as you start working with RStudio more you may find that you want to make changes to these global settings. To do so, go to:
Tools -> Global options…
For example, you may prefer to start with a blank workspace
(i.e. Global Environment) each time you open RStudio, so that you get
into the habit of always saving your procedures in your scripts rather
than relying on having the results in the environment. To do this,
deselect ‘Restore .RData into workspace at start up’ in the pop-up
window that opens and set ‘Save workspace to .RData on exit’ to ‘Never’
(note that you can still save this and load it any time manually, it
just won’t save and load automatically with these settings).
Alternatively, you can run the command
usethis::use_blank_slate() to do the same, although you
will likely need to install and load the ‘usethis’ package first (either
in the Packages tab or using the commands
install.packages("usethis") and
library(usethis) respectively).
Lastly, note that each project also has its own project options which override the global options. You can view these for a specific project, and make any changes from the global options as required, by using the drop down menu next to the project name in the top right hand corner and selecting ‘Project Options…’.